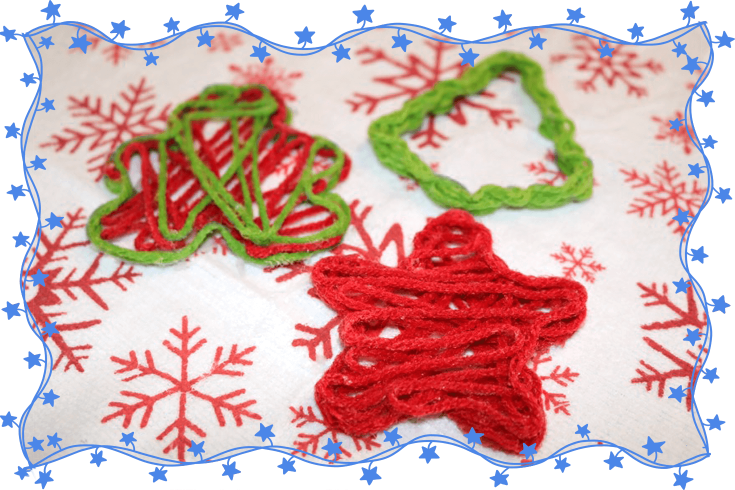
Holiday Yarn Ornaments
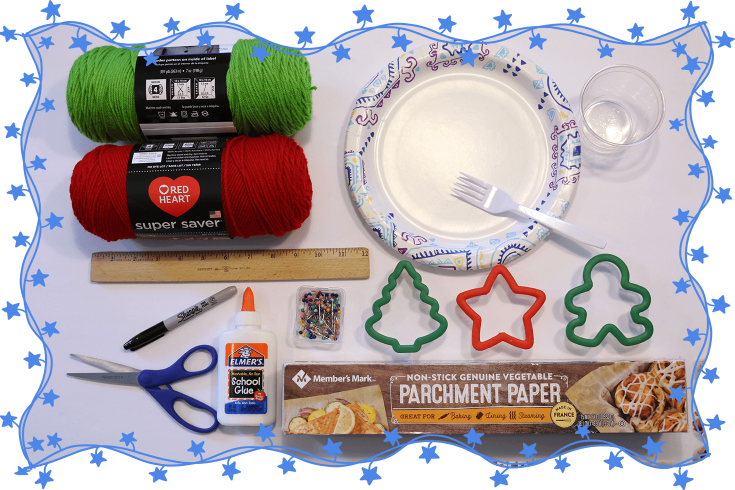
Okay, so here’s what you need:
- Yarn (you can use any color)
- Ruler
- Sharpie Marker
- Scissors
- Sewing pins
- Cookie cutters (select your favorite shapes)
- Paper plate
- Fork
- Plastic cup
- Parchment paper or Wax paper
Cut three 24-inch long pieces of yarn for each ornament you’re making. I made 3 ornaments, so I cut nine 24-inch long pieces of yarn.
Tear off a sheet of parchment paper (or wax paper) large enough to cover your paper plate. Trace around the paper plate onto the parchment paper (or wax paper) then cut out the shape of the paper plate.
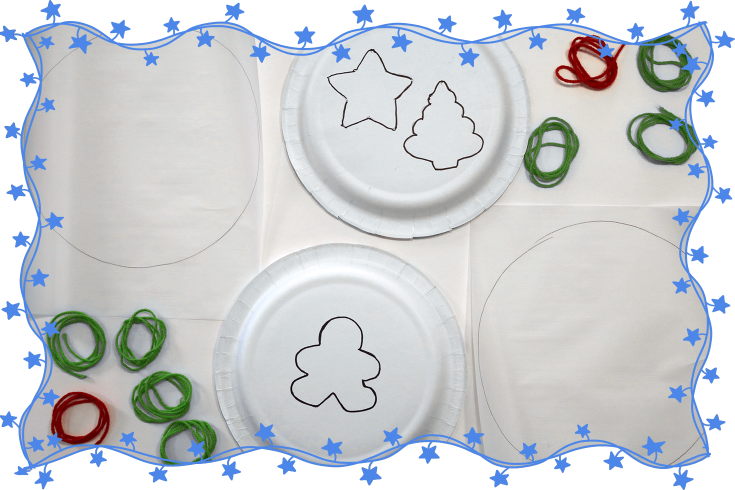
Flip over your paper plate then trace around your cookie cutters with a sharpie or marker onto the back of the paper plate. Place the parchment paper (or wax paper) on top of the paper plate so you can see your ornament design underneath.
Poke your sewing pins through both the parchment paper (or wax paper) and paper plate outlining the shape of your ornament.
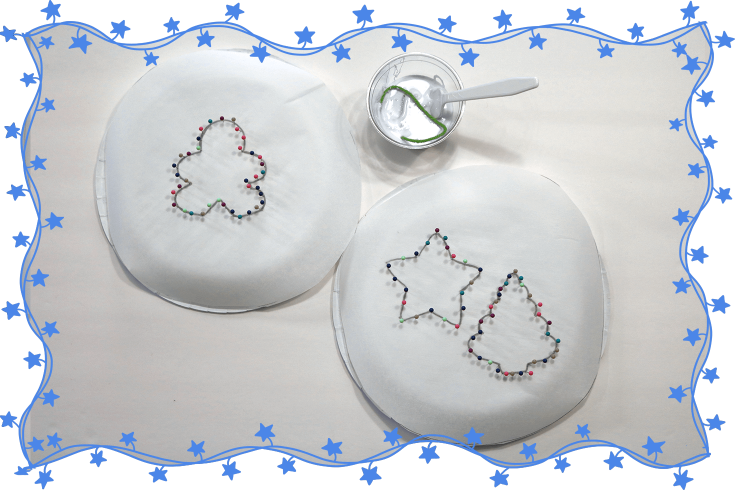
Once all of your ornaments are outlined with sewing pins, pour some of the white glue into a plastic cup. Next put 1 of the 24-inch long pieces of yarn into the cup of glue. Using the plastic fork, stir the yarn in the glue so it’s completely covered. Next find the end of the yarn and slide the entire string of yarn through a prong in the fork. By pulling the yarn thru the fork you’re removing all of the excess glue from the yarn which falls back into your cup of glue. You can also remove the excess glue by pulling the string of yarn between your index finger and thumb but that gets pretty messy.

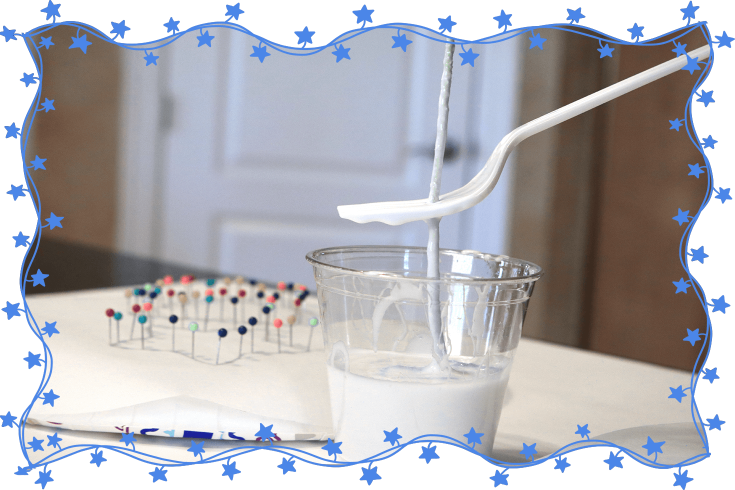
Next wrap the glue soaked yarn around the sewing pins that outline the shape of your ornament. When you reach the end of your first piece of yarn, add another piece of yarn to the cup of glue, remove the excess glue then continue wrapping randomly across the shape of your ornament and around the pins.
Repeat the steps above until you have used 3 long strips of yarn on each ornament. You can randomly wrap the yarn around the sewing pins from side to side or you can decide to make it simple by just outlining the ornament. It’s totally up to you how you want to design it. Try to wrap the yarn around all of the sewing pins at least once if you can. And remember, if you start to run out of glue, simply add more glue to your plastic cup as needed.
When you’re finished wrapping the glue soaked yarn around the sewing pins be sure to tuck the ends of the yarn somewhere inconspicuous. Also, be sure to use either the side of an extra sewing pin or your finger to press the yarn down so all of the layers of yarn are touching each other. That way, once the yarn dries it will all stick together.
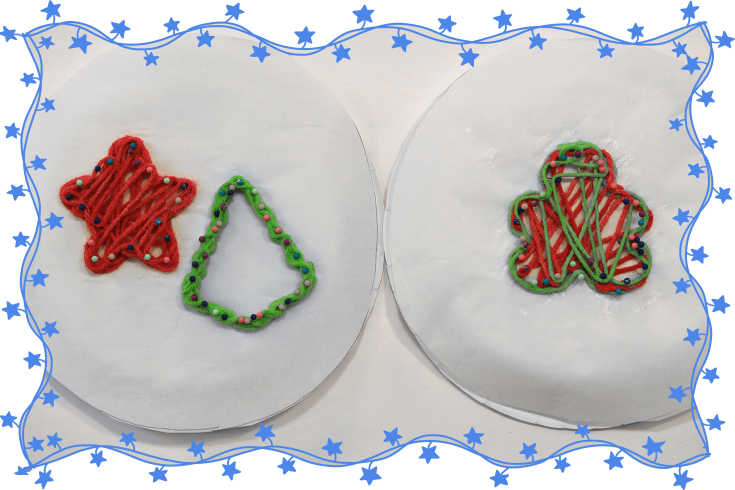
Once your first ornament is done repeat this whole process with another yarn color and another shape until all of your ornaments are decorated. Let your ornaments dry overnight before removing all of the sewing pins. The ornaments are ready to use when they are completely dry and stiff. If there is any dried glue stuck to the ornaments after removing the sewing pins, carefully peel off the dried glue. You can tie a ribbon or string to the top of your ornament to make it easy to hang.
